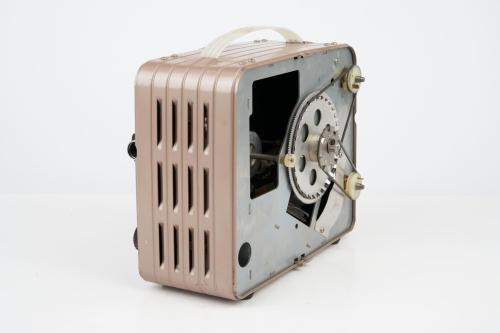
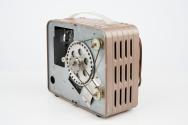
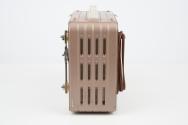
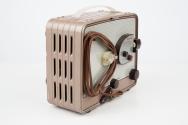
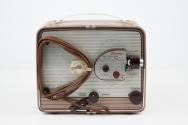
Kodak Brownie Movie Projector f/1.6 Model 1


Projector
Eastman Kodak Company
American, estab. 1892
Kodak Brownie Movie Projector f/1.6 Model 1
October 1954
Metal, plastic, rubber and glass
Overall: 10 1/4 × 6 3/4 × 11 1/4 in. (26 × 17.1 × 28.6 cm)
Gift of Eastman Kodak Company
1988.0629.0022
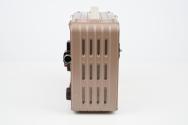
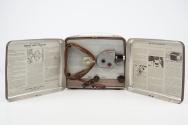
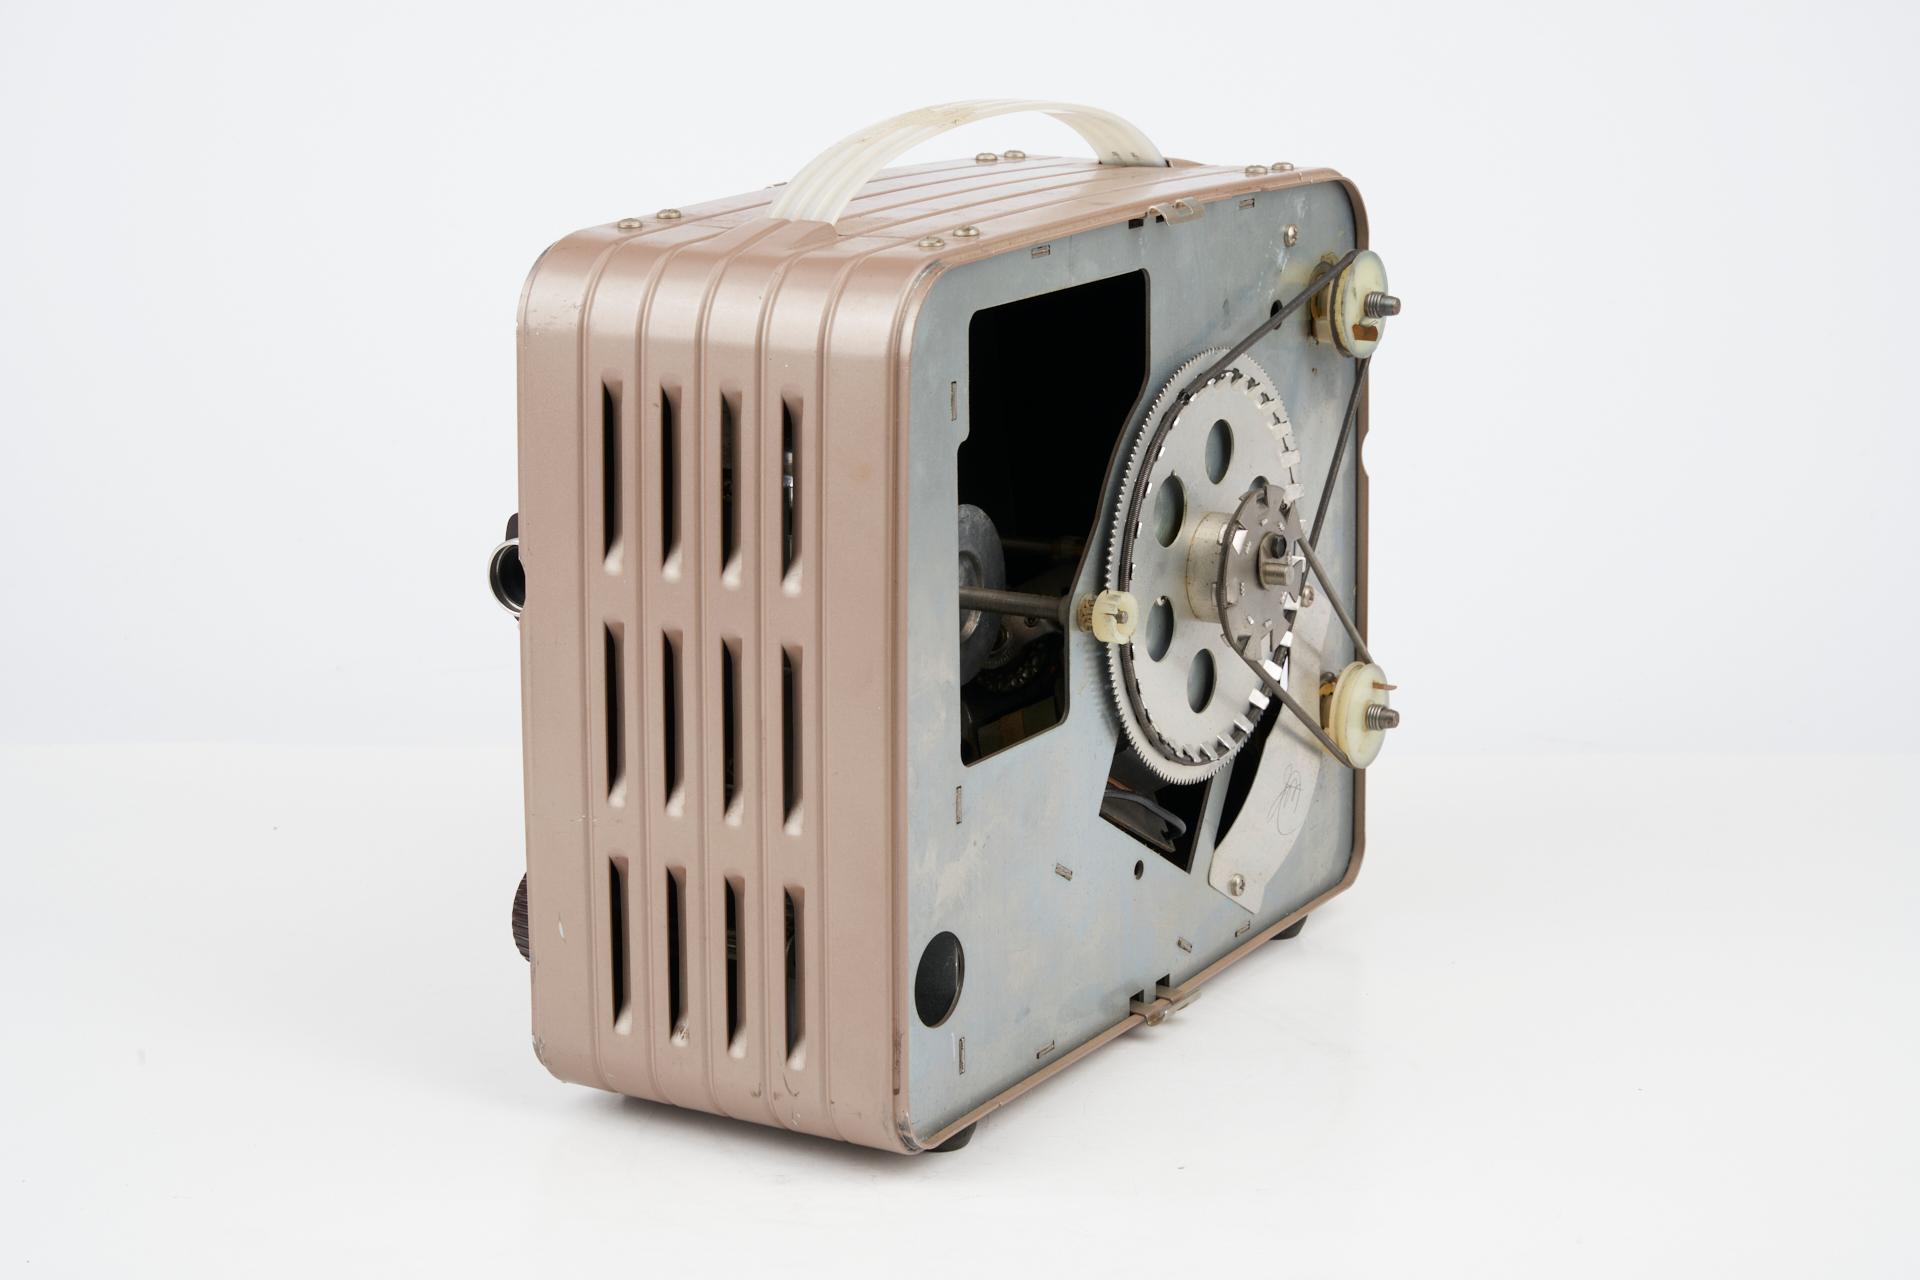
DescriptionTwo-toned brown, rectangular, 8mm motion picture projector with condenser lens, 3/4" f/1.6 projection lens, 300-watt, 120-volt lamp, reverse, still and tilt. The projector accepts 200 foot reels.
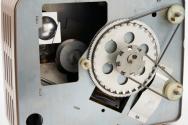
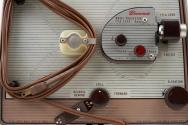
Inscriptions Printed in gold and red on cover: Kodak / Engraved in gold on cover: One Six / Printed in red and brown behind lens: Brownie MOVIE PROJECTOR f/1.6 LENS 8mm MADE IN ROCHESTER, N.Y. U.S.A. BY EASTMAN KODAK CO. MODEL 1 T.M. REG. U.S. PAT. OFF. / Printed in brown below the threading dial: THREAD / Printed in brown in front of the framing dial: FRAME / Printed in brown above the lens: f/1.6 LENS / Printed in brown below the focus lever: FOCUS / Printed in brown above the tilt dial: ELEVATION / Printed in brown above the motor control dial: REVERSE, REWIND, STILL, FORWARD / Engraved in white on the power switch: OFF, ON / Printed in brown above the base: PLUG INTO WALL OUTLET ONLY 115 VOLTS 60 CYCLES A.C. ONLY 400 WATTS 300 WATT LAMP MAX / Printed in black under cover: How to Operate the BROWNIE MOVIE PROJECTOR f/1.6 Lens Model 1 POWER SUPPLY Operate the projector on 105-to 125-volt, 60-cycle, alternating current only. SETTING UP THE PROJECTOR AND SCREEN 1.Place the projector on a table or other firm support. 2.Set up the screen so that its center is in line with or a little higher than the projection lens. To fill the Brownie Projection Screen, the projector-screen distance should be about 10 feet. A picture of 27 x 36 inches is projected at 13 feet. 3.Connect the cord to an electric outlet. 4.Start the motor and turn on the lamp by pressing the "ON-OFF" switch down; then turn the control knob to FORWARD. 5.Center the lighted area vertically on the screen by turning the knob marked ELEVATION to raise and lower the projector; center it horizontally by moving the projector. 6.Turn the control knob to STILL; turn off the motor and lamp by pressing the "ON-OFF" switch up; then thread the projector. THREADING The arrowed guide line on the projector panel shows the direction and path of the film through the projector. 1.Place a reel of film on the upper SPINDLE so that the film draws from the top of the reel with the perforated edge toward you; push in the rell past the spindle and unroll about 2 feet of film. 2.Insert the film in the upper curved slot of the SPROCKET HOUSING, making sure that the film perforations engage the enclosed sprocket teeth. 3.Follwing the guide line from the sprocket housing to the GATE, hold the gate open by pressing the gate tab toward the front of the projector; then insert the film in the gate. Check to see that the film forms the upper loop by following the guide line above the gate; then allow the gate to snap closed. 4.Form the lower loop by following the guide line from the bottom of the gate to the sprocket housing; making sure that the film perforations engage the enclosed sprocket teeth. 5.Place the empty take-up reel (packed inside the front cover) on the lower SPINDLE and press it in beyond the spindle spring. Attach the film to the lower reel by holding the end of the film against the core of the reel and turning the reel at least one turn clockwise to bind the film to the core. Wind up any stock film between the sprocket housing and the lower reel core. 6.Before turning on the motor, rotate the threading knob (labeled THREAD) in the direction of the arrow. Make sure that the film advances through the gate, that the loops are maintained and continue to match the guide lines on the projector. PROJECTION Pres the "ON-OFF" switch down; then turn the control knob to FORWARD. Immediately check the loop sizes to see if they remain correct. Move the FOCUS lever back and forth until the pictures on the screen are sharp and clear. If the edge of the next picture shows at the top or bottom of the screen, turn the framing knob (labeled FRAME) to correct this. When the end of the film has reached the lower reel, turn the control knob index mark to STILL and press the switch up. To show a single frame, turn the control knob to STILL (if the shutter has stopped in the closed position, turn the threading knob to open it). To reverse the direction of the film, turn the control knob to REVERSE REWIND. REWINDING The film is rewound directly from the lower reel to the upper reel. Attach the film to the upper reel by holding the end against the core of the reel and turning the reel at least one turn counterclockwise. Make sure that the first turn of the film is tight against the core and that there is no slack between the reels, then press the "ON-OFF" switch down and turn the control knob to REVERSE REWIND. After the film is completely rewound, turn the control knob to STILL and press the "ON-OFF" switch up. INSTRUCTIONS FOR CLEANING AND LAMP REPLACEMENT ARE PRINTED IN BACK COVER. Rewind the cord in a triangular pattern around the lower spindle, upper spindle, and sprocket housing. EASTMAN KODAK COMPANY Rochester, New York. / Stamped in silver under the back cover: 263196 / Printed in black behind the back cover: CARE OF THE PROJECTOR The optical system of your projector must be kept clean-dust or finger prints will reduce picture brightness. LAMP REPLACEMENT AND CLEANING INTERIOR PARTS - The 300-watt projection lamp for your projector can be obtained from your Ciné-Kodak dealer. If a lamp should burn out during projection, be sure to wait unti the lamp and projector parts are cool before touching them. Reach into the projector (through the large hand-hole) and remove the lamp reflector by grasping the metal TAB, raising it, and pulling the unit away from the projector wall. Clean the reflector with a soft, dry cloth. Press down on the projection lamp, give it a quarter turn counterclockwise and lift the lamp from its socket. While the lamp is removed, remove the condensing lens, directly behind the lamp, for cleaning. Do this by pressing the top of the metal lens MOUNT in a clockwise direction and lifting it out. With a soft, clean, lintless cloth, carefully wipe the front and back surfaces of the lens. Replace the condensing lens by inserting the bent cutout tab of the metal lens mount in its slot and turning it in a counterclockwise direction as far as it will go. To install a lamp, place the base of the lamp in ifs socket, rotate it gently until the base pins find their slots; then press the lamp down all the way into the socket, giving it a quarter turn clockwis to lock it. Replace the reflector by inserting the spring cutout and small tab in their slots in the wall of the projector; then press the refletor down as far as it will go. CLEANING THE PROJECTION MIRROR - This mirror is located on the control panel side of the projector. Place the projector on a table with the control panel side up; then remove the two cross-slotted screws holding the projector name plate and remove the plate. Remove the curved, metal PRESSURE PLATE; then remove the MIRROR which is set at an angle directly behind it. Polish the mirror with a soft, lintless cloth, and handling it by the edges, return it to its former position with the mirror surface facing the lens. Replace the pressure plate, tab end in, and convex surface out. Replace the name plate and the two cross-slotted screws. CLEANING THE GATE AND PROJECTION LENS - Release the spring tension against the GATE by holding forward the small LEVER beneath the front of the lens mount. Grasp the meatl tab of the gate, move it forward so that the gate clears the pins, and remove the gate. To remove the projection lens, holc forward the small lever beneath the lens mount to release the spring tension, then slide the brown plastic lens mount housing toward the rear of the projector until it is free to be removed. Make sure that the housing is not entirely removed until the lens mount if grasped and removed with it. With a soft, clean, lintless cloth, carefully wipe the font and back lens surfaces. Clean the gate and film track with a damp, lintless cloth. To replace the projection lens, put the lens in its brown plastic half-housing in the projector and lever until its mechanism engages scored circle around the mount. Grasp the housing which you removed, and with the small spring-tension lever at the bottom right side, hold this lever forward with the right thumbnail. With the left hand, slide the housing, in its guide channels, toward the projector, then slide the housing toward the front of the projector as far as it will go. To replace the gate, grasp the gate by the tab (holding the long end up) with the left ahdn, and with the right thumbnail hold forward the small lever beneath the lens mount; then insert the gate so that the two small holes of the gate are engaged by the pins alongside the film track. Release the sping-tension lever to hold the gate properly. To replace the covers of teh projector, place the two cutouts in the narrow side of the cover over the spring clips at the top of teh projector housing; then press the base of the cover toward the projector until it snaps locked. Never operate the projector with the back cover removed.